Takeaways from Google Developer Days 2017: Firebase and Serverless
谷歌开发者大会2017心得:Firebase 和 Serverless
Today was the first day of the Google Developer Days (GDG) in Shanghai. Since GDG is held on a weekday, I had to take a leave of absence from work to attend. There were a lot of exciting topics at GDG. I'm going to write a few posts about what I got out of GDG 2017 (and if I get lazy, it might just be this one).
The topic of this post is Firebase and Serverless.
Before that, I knew a little bit about Firebase, as our Quesbook project has an online classroom that uses Firebase to store the live chat content. This gave me a misconception about Firebase, I thought it was simply a real-time database. But this time at GDG, Firebase blew me away - it's a full Serverless architecture solution with not only Real-time Database, but also Storage, Cloud Functions, and Authentication, allowing one to implement their own application from 0 to 1 without deploying their own code to the server.
Examples from the GDG
During the afternoon session, two presenters gave us a presentation on implementing an application with Firebase. This application can record the voice of a speaker and then translate it into text in other languages for presentation to others. This uses Firebase's Storage (voice files and transcribed files) and Cloud Functions (Sound to Text and translation), and it was amazing to see how all the necessary functionality was implemented in just a few dozen lines of code.
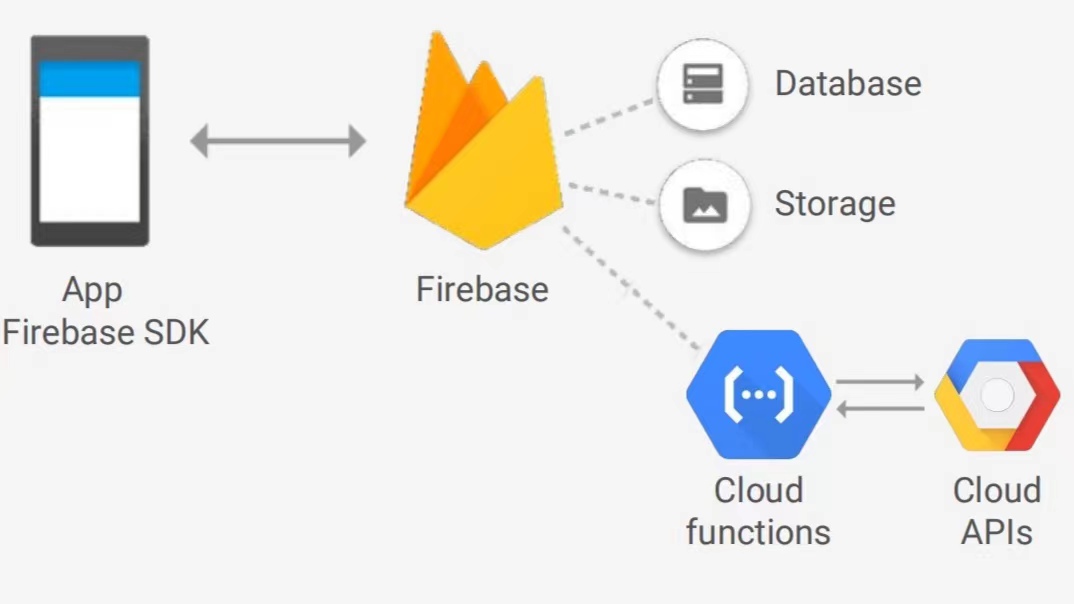
The above diagram describes the architecture of this application, the front-end app through the SDK calls the functions deployed in the Firebase definition, such as uploading voice files and storing them in Storage. At the same time, Firebase will listen to the uploading event of file storage - when a voice file is written, it will call Cloud Functions to convert it into text. Then this in turn triggers another function that translates the text into the target language.
In this architecture, we can see that there is no longer a server role - this is where serverless comes from.
The whole code is also very simple, the following code is in functions/index.js.
First, it imports the required packages, in the style of expressjs:
const functions = require('firebase-functions');
const Speech = require('@google-cloud/speech');
const speech = Speech({keyFilename: "service-account-credentials.json"});
const Translate = require('@google-cloud/translate');
const translate = Translate({keyFilename: "service-account-credentials.json"});
const Encoding = Speech.v1.types.RecognitionConfig.AudioEncoding;
The second thing is that when the speech file is written, it will trigger this onUpload event, read the file out, and then call Cloud Function: Speech to convert it to a transcript and write it back to Storage:
exports.onUpload = functions.database
    .ref("/uploads/{uploadId}")
    .onWrite((event) => {
        let data = event.data.val();
        let language = data.language ? data.language : "en";
        let sampleRate = data.sampleRate ? data.sampleRate : 16000;
        let encoding = data.encoding == "FLAC" ? Encoding.FLAC : Encoding.AMR;

        let request = {
            config: {
                languageCode : language,
                sampleRateHertz : sampleRate,
                encoding : encoding
            },
            audio: { uri : `gs://mimming-babelfire.appspot.com/${data.fullPath}` }
        };

        return speech.recognize(request).then((response) => {
            let transcript = response[0].results[0].alternatives[0].transcript;
            return event.data.adminRef.root
                .child("transcripts").child(event.params.uploadId)
                .set({text: transcript, language: language});
        });
    });
Finally, there is the onTranscript function which, when it finds transcripts written (onWrite event), goes and calls Cloud Function: Translate to translate them into the target language:
exports.onTranscript = functions.database
    .ref("/transcripts/{transcriptId}")
    .onWrite((event) => {
        let value = event.data.val();
        let transcriptId = event.params.transcriptId;
        let text = value.text ? value.text : value;
        let languages = ["en", "es", "pt", "de", "ja", "hi", "nl", "fr", "pl"];
        // All supported languages: https://cloud.google.com/translate/docs/languages

        let from = value.language ? getLanguageWithoutLocale(value.language) : "en";
        let promises = languages.map(to => {
            console.log(`translating from '${from}' to '${to}', text '${text}'`);
            // Call the Google Cloud Platform Translate API

            if (from == to) {
                return event.data.adminRef.root
                    .child("translations").child(transcriptId).child(to)
                    .set({text: text, language: from});
            } else {
                return translate.translate(text, {
                    from: from,
                    to: to
                }).then(result => {
                    // Write the translation to the database
                    let translation = result[0];
                    return event.data.adminRef.root
                        .child("translations").child(transcriptId).child(to)
                        .set({text: translation, language: to});
                });
            }
        });
        return Promise.all(promises);
    });
There are only 71 lines of code in total, and this is not pseudo-code, but a complete implementation of all the backend functionality needed for this application.
The full Github repo for this project is here Zero to App: Building a universal translator. There is code not only for the functions section mentioned above but also for clients of Android/iPhone/Web.
Try it out ourselves
In fact, the official Firebase Get Started is already very comprehensive, it contains:
How to create a project
How to enable Firebase, and create Storage
How to write files to Storage and trigger function calls
How to turn on and initialize locally
How to test and deploy locally
I tried to follow it step by step and had almost no problems. Except for the step of testing locally, which utilizes the Local Emulator Suite, which is dependent on Node >= 8 and Java >= 11, which is not mentioned in the Get Started section. If you try it yourself, you need to prepare your environment first.
Other interesting facts
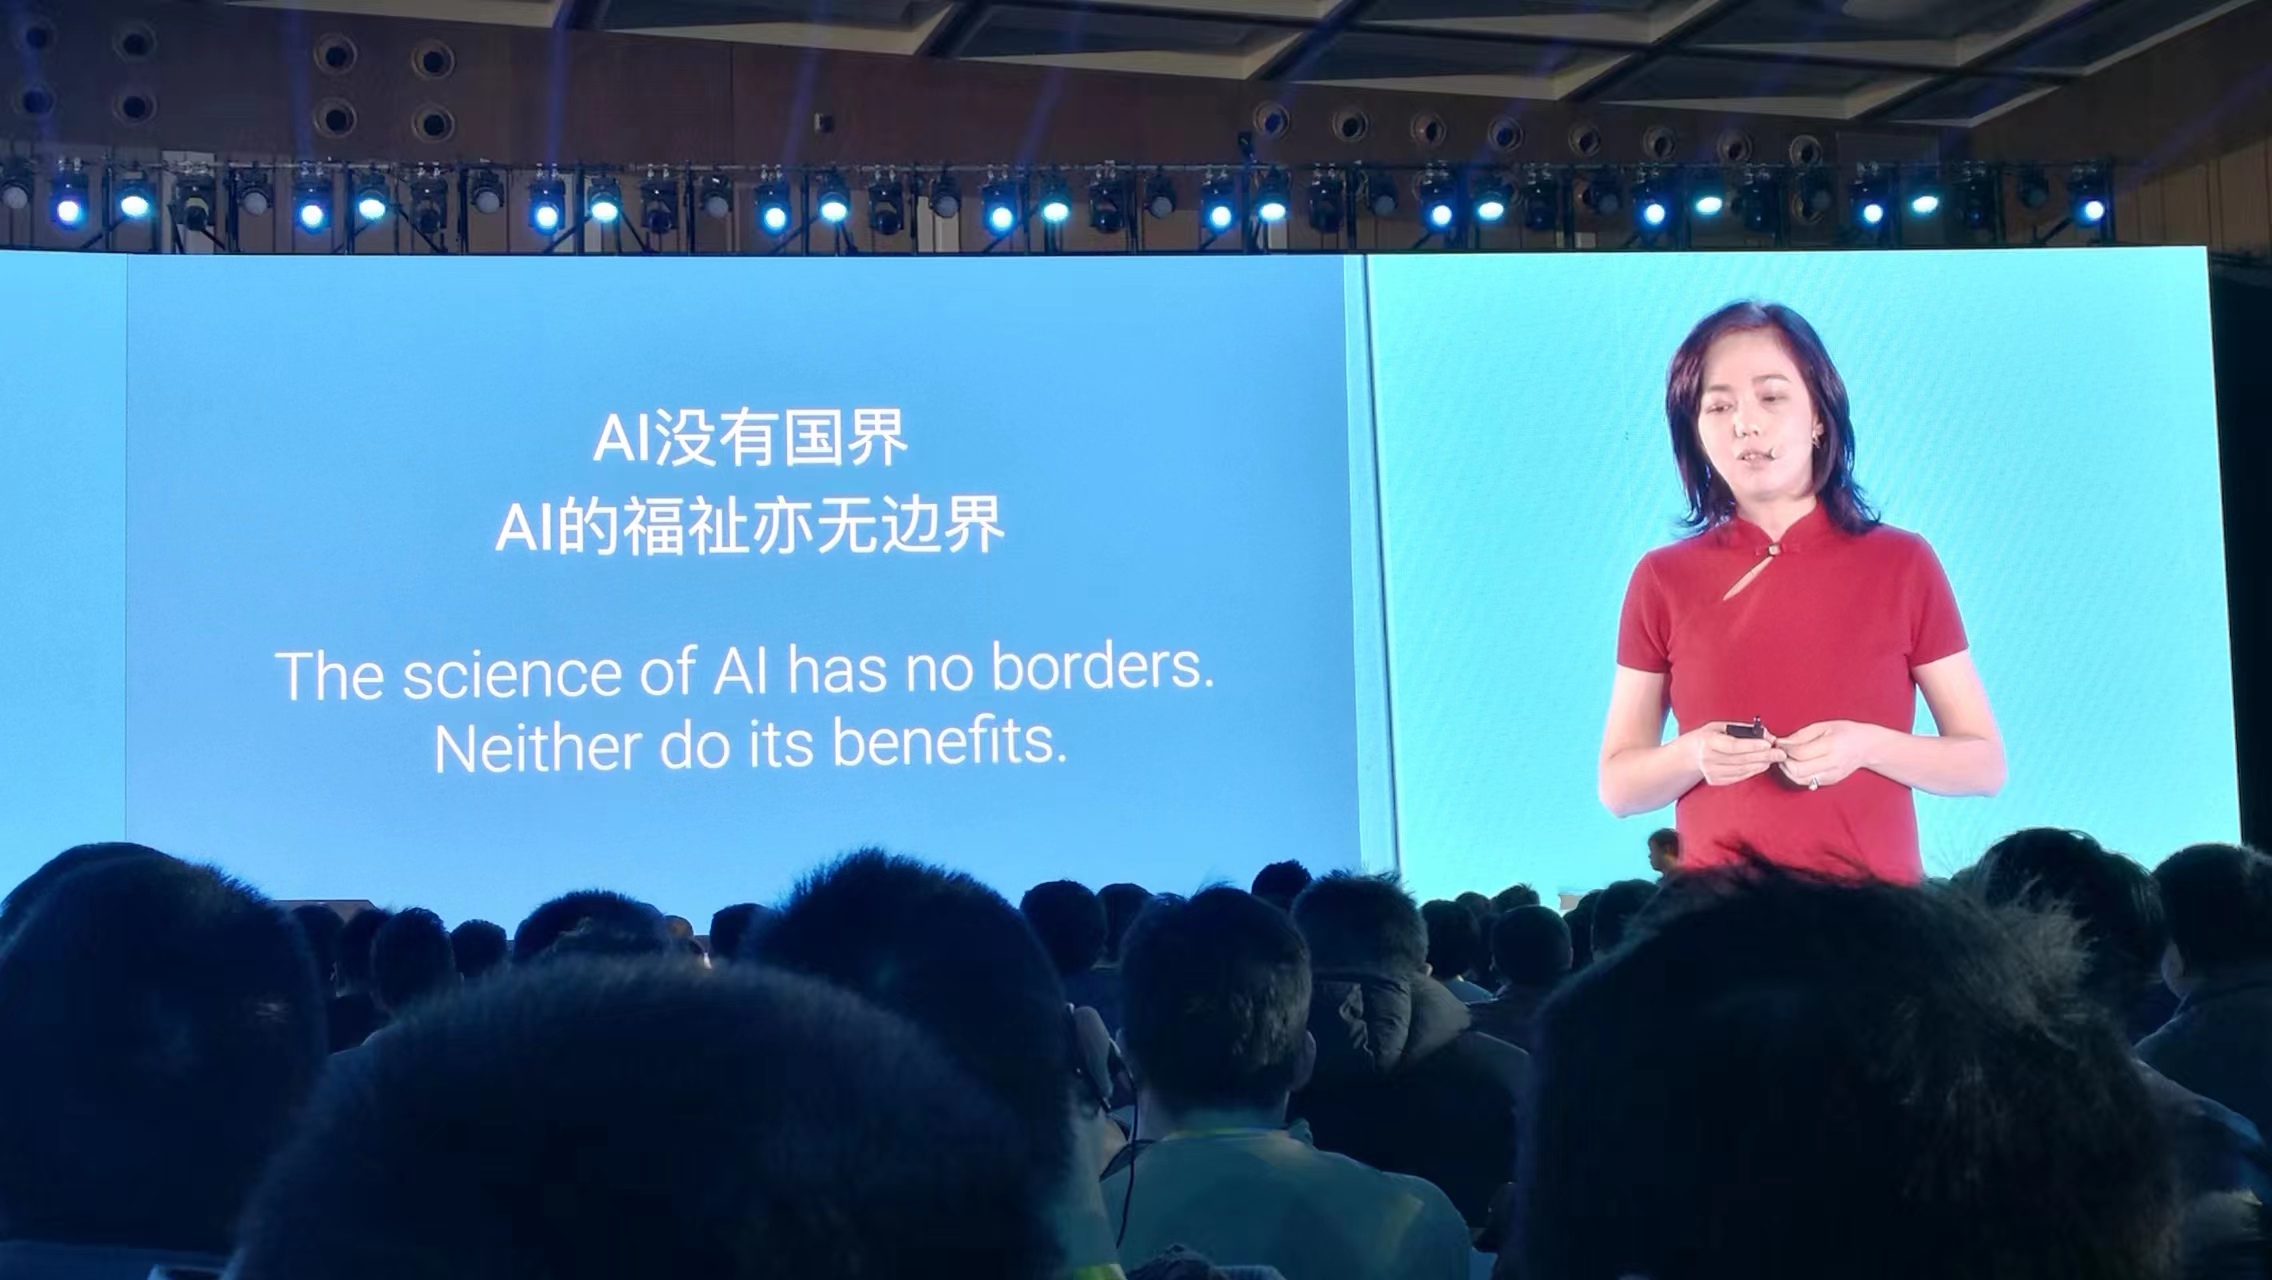
During the GDG morning opening, we met Feifei Li. She returned to China to announce the establishment of the Google AI China Center.
In addition, she advocated that "The science of AI has no borders; Neither do its benefits".